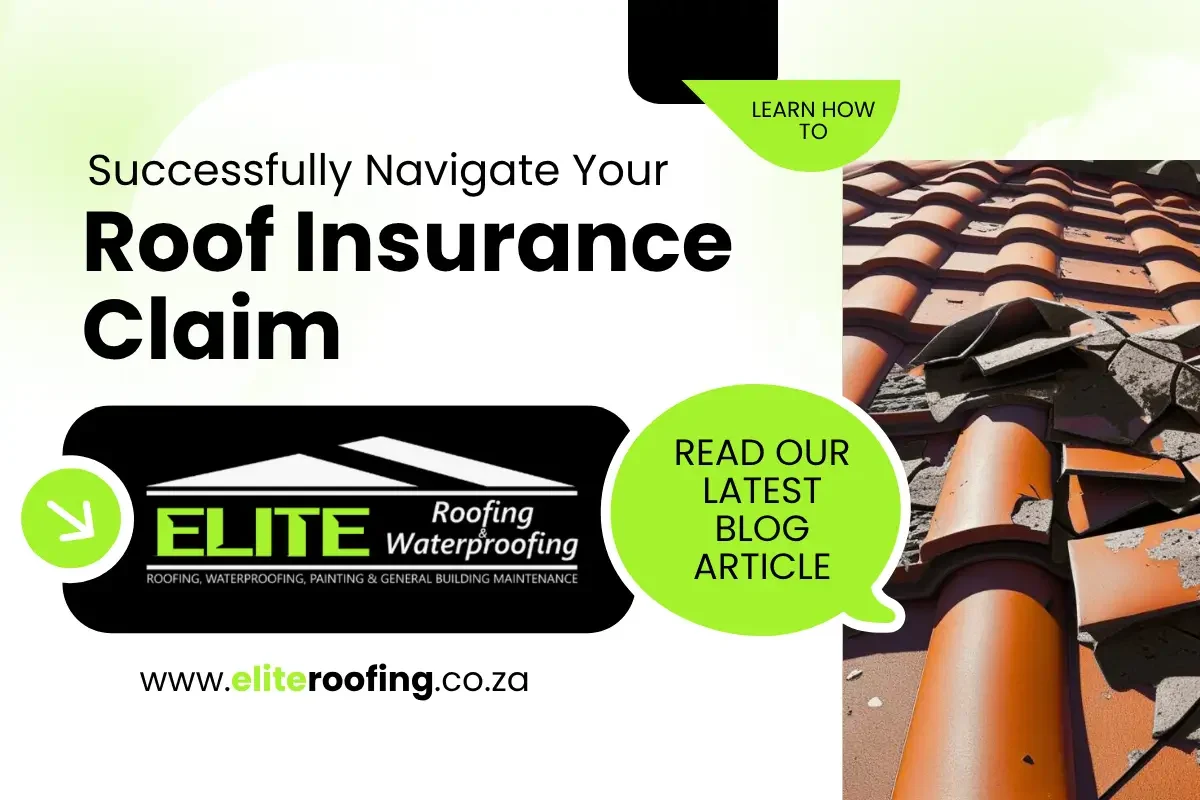
Your Step-by-Step Guide from the Experts at Elite Roofing & Waterproofing
The sound is unmistakable. The violent crack of a thunderstorm, the relentless drumming of hail on your roof, or the howling winds of a vicious winter storm. When the weather unleashes its fury, your roof is your home's first and most critical line of defence. But when that defence is breached, the aftermath can be incredibly stressful. Water stains appearing on your ceiling, damaged tiles littering your garden, and the sudden, daunting realisation that you must navigate the world of insurance. It’s a situation no homeowner wants to face. The process can feel overwhelming, filled with paperwork, jargon, and uncertainty.
At Elite Roofing and Waterproofing, we’ve seen it all. For years, we’ve not only provided expert storm damage roof repair but have also stood by homeowners, helping them through the complexities of their insurance claims.
Consider us your partner in this process. This guide is designed to demystify the roof insurance claim process in South Africa, giving you the knowledge and confidence to ensure you get a fair and complete settlement.
Step 1: The Immediate Aftermath – Safety and Mitigation
Before you even think about your insurance policy, your number one priority is safety.
• Stay Off the Roof:
Never climb onto a potentially damaged roof, especially during or immediately after a storm. It can be slippery, and the structural integrity may be compromised. Leave the inspection to professionals.
• Mitigate Further Damage:
If it is safe to do so, take steps to prevent the situation from getting worse. Place buckets under active leaks. If you have water pouring through the ceiling, and you are comfortable doing so, a small puncture in the plasterboard can allow the water to drain in a controlled way, preventing a larger section of the ceiling from collapsing.
• Check for Electrical Hazards:
If water damage is significant, be cautious of electrical fittings and appliances. If in doubt, switch off your main circuit breaker and consult an electrician.
Taking these initial steps shows your insurer that you have acted responsibly as a homeowner to minimise the loss.
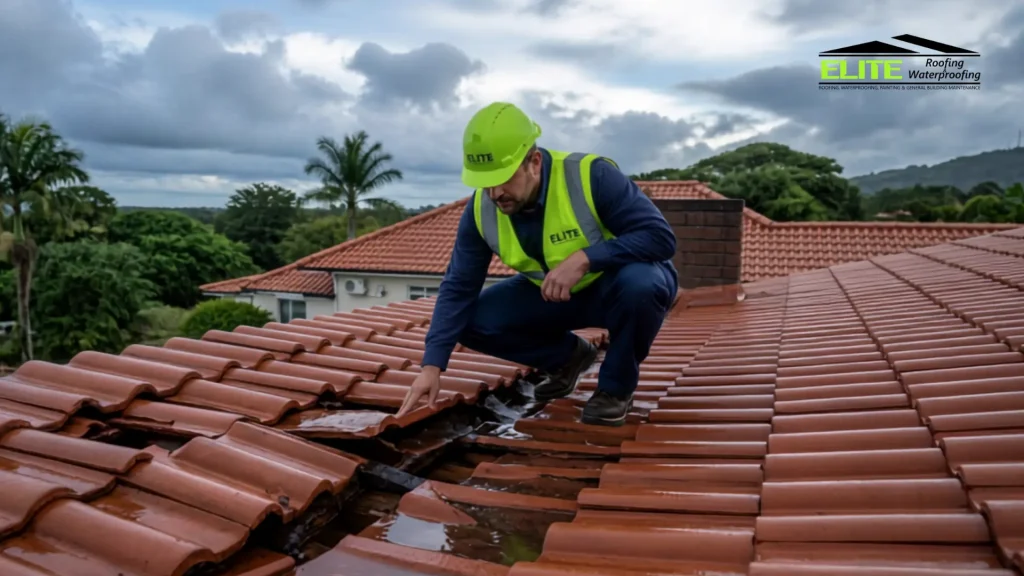
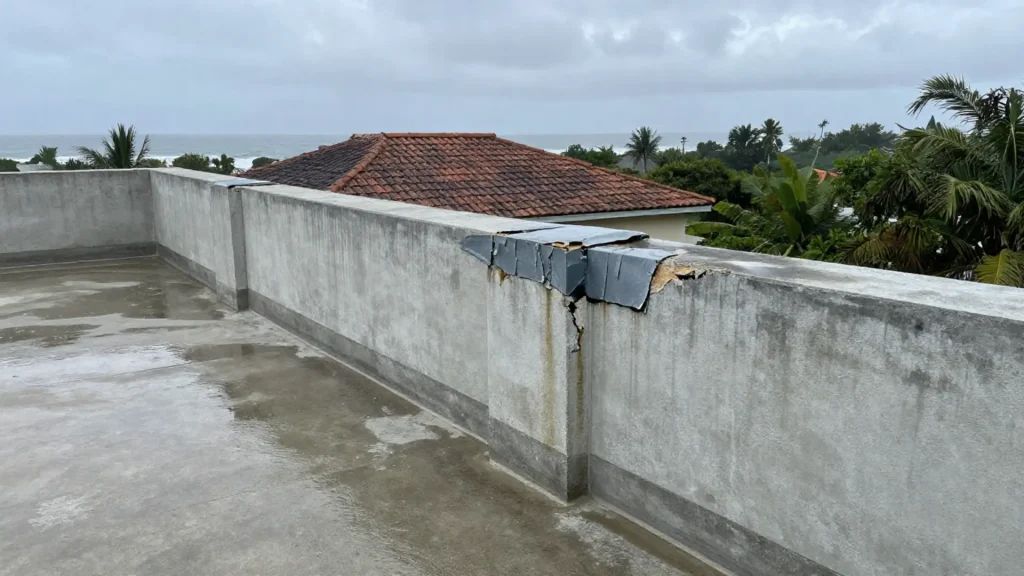
Step 2: Document Everything – Your Proof is in the Pictures
This is arguably the most crucial step you will take. Before you move anything or clean up, document the damage extensively. Your smartphone is your most powerful tool here.
• Take Wide Shots:
Capture photos and videos of the entire roof from different angles on the ground. Show the scale of the damage.
• Get Close-Ups:
Photograph specific areas of damage – cracked or missing tiles, dents in metal sheeting from hail, damage to flashing around chimneys or vents.
• Document Interior Damage:
This is vital. Take clear pictures of water stains on ceilings and walls, peeling paint, and any damaged furniture or electronics below the leak.
• Keep a Timeline:
Note down the date and time the storm occurred and when you first noticed the damage. Keep a log of every conversation you have with your insurer, including the date, time, and the name of the person you spoke to.
You cannot have too much evidence. This documentation will form the backbone of your roof insurance claim in South Africa and will be invaluable when dealing with the assessor.
Step 3: Contact Your Insurer and Get a Professional Assessment
Once you have your initial evidence, it’s time to formally initiate the claim.
• Notify Your Insurer Promptly:
Most policies require you to report a claim within a specific timeframe (often 30 days but check your policy wording). Have your policy number handy. They will register the claim and provide you with a claim number.
• Arrange a Professional Damage Assessment Report:
Your insurer will appoint their own assessor. However, it is highly advisable to get an independent, detailed assessment from a reputable roofing contractor. This is where we come in.
An insurer's assessor works for the insurance company. Their goal is to assess the validity of the claim according to the policy. A professional assessment report from a company like Elite Roofing and Waterproofing works for you. It is far more than just a quote; it’s a comprehensive diagnostic document that:
- Identifies All Damage:
We use our expertise to find not just the obvious damage, but also the hidden issues—like compromised underlay, subtle structural damage, or issues with waterproofing that an assessor might overlook. This is particularly important for hail damage insurance claims, where the full extent of the damage isn't always immediately visible. - Provides a Detailed Scope of Work:
The report will outline, in technical detail, precisely what is required for a proper storm damage roof repair. This includes the correct materials, labour, and adherence to national building standards. - Acts as Your Expert Evidence:
This report gives you a powerful tool to use when meeting the assessor. It demonstrates that you have done your due diligence and ensures the discussion is based on a thorough, expert evaluation of the required repairs, not just a quick visual inspection.
Step 4: Meeting the Insurance Assessor
The assessor’s visit is a pivotal moment in your claim. Being prepared can make all the difference.
• Be Present:
Make sure you or a trusted representative is present for the assessment.
• Be Prepared:
Have all your documentation ready – your photos, videos, and your professional damage report from Elite Roofing.
• Be Polite but Firm:
Walk the assessor through the damage you have identified, both outside and inside. Share your professional report with them. This ensures they are aware of the full scope of the necessary repairs. A professional report encourages a more thorough assessment.
• Don't Be Pressured:
Do not feel pressured to agree to a scope of work or a settlement figure on the spot. The assessor’s job is to report back to the insurer, who will then make you an offer.
Step 5: Reviewing the Settlement Offer
Once the insurer has reviewed the assessor’s report, they will send you a settlement offer, often called a Scope of Work.
• Compare Carefully:
Meticulously compare the insurer’s offer with the professional report you obtained. Does it cover all the necessary repairs? Does it account for the correct materials and labour costs?
• Question Discrepancies:
If the settlement is lower than your professional quote, or if it omits key repair steps, you have the right to question it. This is where your detailed report becomes your leverage. You can submit it to the insurer as a basis for re-evaluation, pointing out the specific items they may have missed.
• Understand “Average”:
Be aware of the “average” clause in your policy. If you are under-insured (i.e., the insured value of your home is less than its actual replacement cost), the insurer may only pay out a proportionate amount of your claim.
Step 6: Authorising the Repairs
Once you have an approved claim and a fair settlement, you can authorise the work. Insurers may have a panel of preferred suppliers, but you often have the right to choose your own contractor, provided they are a registered and reputable company. Choosing a company like Elite Roofing and Waterproofing, which is experienced in handling insurance work, ensures that the repairs are done to the highest standard and that the final invoice aligns with the approved claim, making the final payment process smooth and hassle-free.
Your Partner Through the Process
Discovering your roof has been damaged is a deeply unsettling experience. The subsequent roof insurance claim South Africa process can add another layer of stress. But you don’t have to navigate it alone. By following these steps and partnering with a trusted expert, you can turn a chaotic situation into a managed process.
At Elite Roofing and Waterproofing, we see our role as more than just fixing roofs. We are here to provide the expert evidence you need, the professional guidance you can trust, and the quality workmanship that gives you peace of mind for years to come.