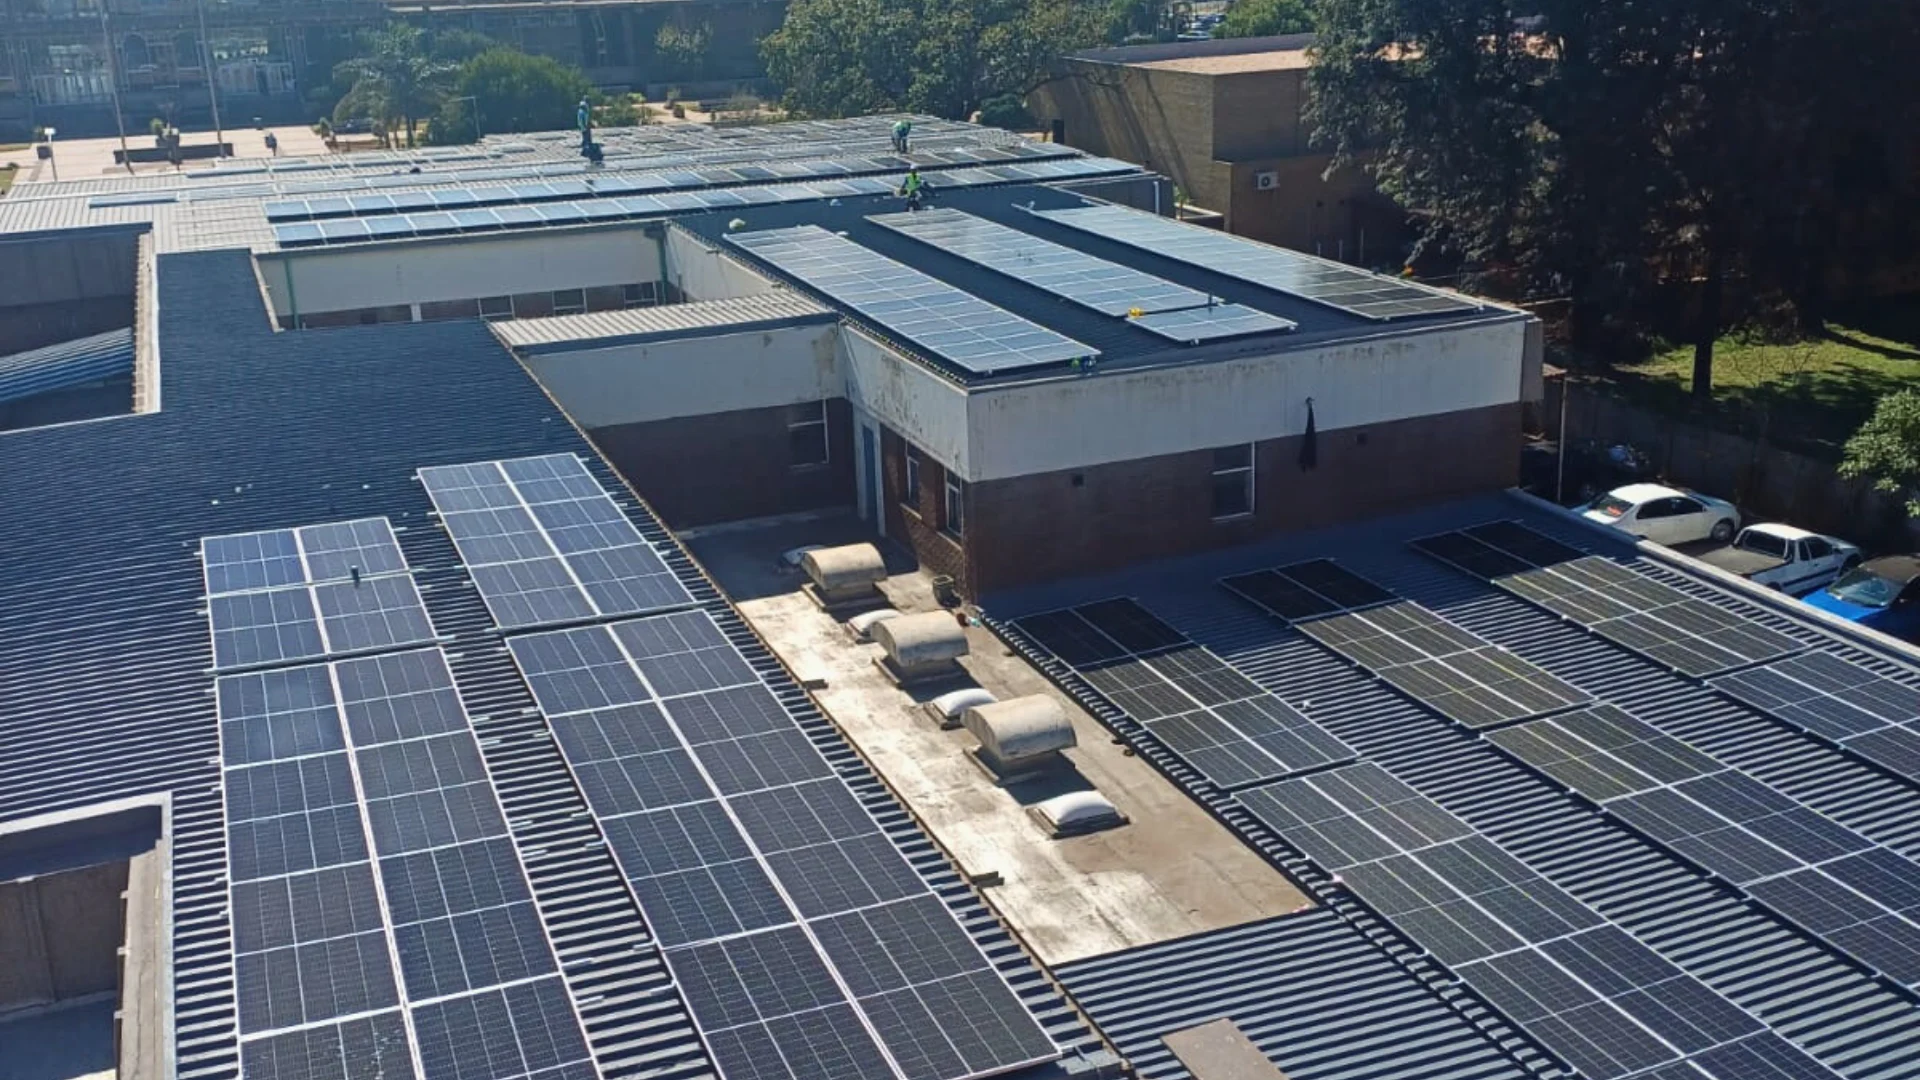
Solar is one of the most practical responses to load shedding and rising electricity costs in South Africa, but rushed installations often create a new problem: roof leaks. Most leaks don’t come from the panels themselves, they come from poorly planned penetrations, bad bracket mounting, and shortcuts around waterproofing details.
This article covers what a correct install should look like, what to check before anyone drills a single hole, and what to demand on handover. It also explains why using Elite Roofing and Waterproofing to install and waterproof the solar mounting frames is the simplest way to reduce leak risk from day one.
Why solar installs leak (and why it happens so often in SA)
South African roofs vary widely from tile, IBR/Chromadek, slate, flat concrete, torch‑on membranes, parapets, box gutters, and complex valleys. Solar teams often treat every roof the same, then “seal it up” with silicone afterwards.
Common failure points:
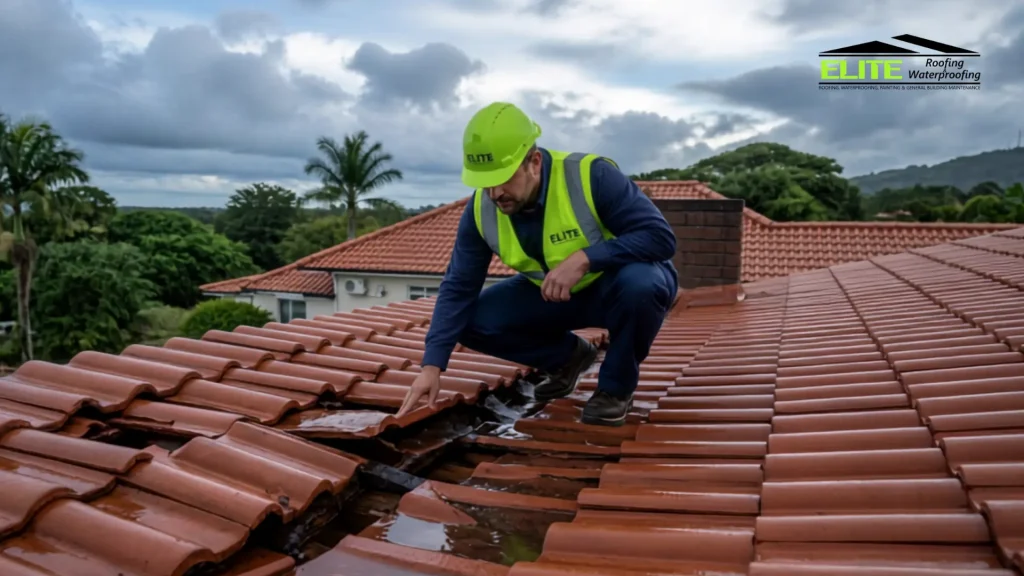
- Brackets fixed into the wrong roof zone (valleys, low points, or near gutters where water concentrates).
- Incorrect fasteners or missing weatherproof washers.
- Penetrations sealed with silicone only (silicone is not a waterproofing system).
- Cables run across ponding zones or into ceilings without proper glands and drip loops.
- Frames mounted out of level, creating new water traps or forcing water under laps.
Best practice #1: Plan penetrations before drilling
A good solar install starts with a roof plan, not a drill.
Penetrations should be:
- Minimised (fewer holes = fewer long-term risks).
- Placed high on the roof plane (away from gutters, valleys, and low points).
- Clear of waterproofing “hot spots” like ridge caps, parapet upstands, skylights, box gutters, and flashing transitions.
Red flags to stop the job:
- Hearing “We’ll just seal it afterwards.”
- Brackets positioned where water naturally runs and concentrates.
- Holes drilled through waterproofing without a purpose‑made system (glands/flashings).
Best practice #2: Seal penetrations with the right method (not just silicone)
Different roofs need different sealing systems. The “one tube fits all” approach is where problems start.
For IBR / Chromadek / metal roofs
- Use correct fasteners (appropriate length, corrosion resistance, and spacing).
- Use EPDM/bonded washers and ensure proper compression (not over‑tightened).
- Avoid fixing on unsupported spans where sheeting flexes.
- Where a penetration is required, use a purpose-made roof flashing/gland suited to the profile.
For tiled roofs
- Do not crack tiles and “make a plan” with sealant.
- Brackets should be mounted with a system designed for tiles, with waterproofing details that keep water on the outside of the roof covering.
- Ensure under-tile waterproofing is respected and repaired correctly if disturbed.
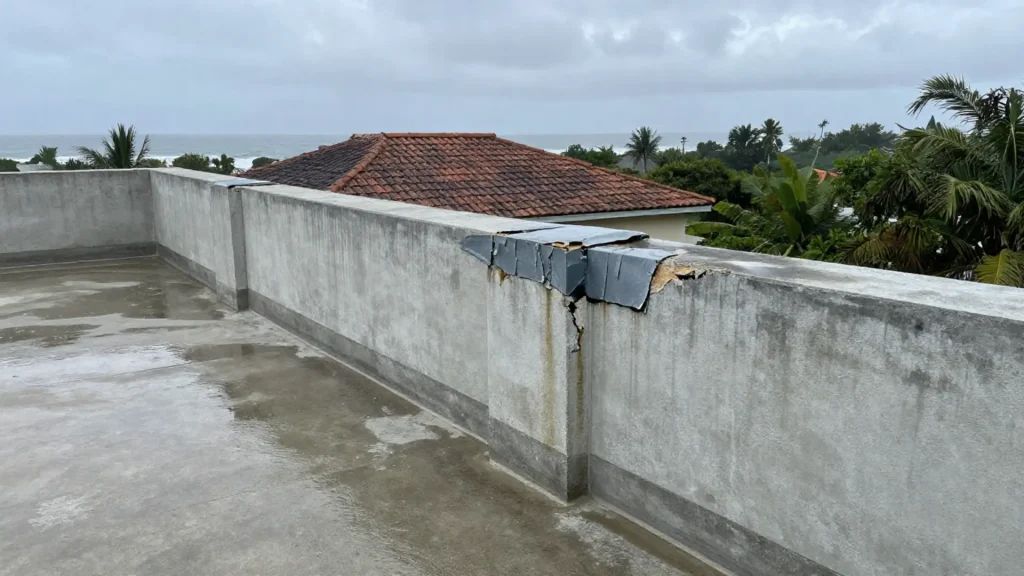
For flat roofs / torch‑on / waterproofed slabs
- Penetrations must be treated as a waterproofing detail, not a hardware detail.
- Use correct upstands, sleeves, and compatible waterproofing layers (torch‑on, liquid membrane systems, or manufacturer-approved assemblies).
- Ensure falls and drainage remain effective after mounting.
Key rule: A penetration must have a mechanical waterproofing detail (gland/flashing/upstand + compatible membrane system). Silicone alone fails with UV exposure, movement, and temperature cycling.
Best practice #3: Bracket mounting that doesn’t create future leaks
Solar frames must be strong enough for South African wind conditions but also installed in a way that doesn’t damage the roof over time.
What a “good install” looks like:
- Brackets fixed into structural members (purlins/rafters), not just sheeting or tile battens.
- Even load distribution (correct rail spacing, correct number of brackets).
- Corrosion-resistant materials and isolation where needed to prevent galvanic corrosion.
- No sharp edges or metal-on-membrane contact on waterproofed roofs.
- Frames mounted with enough clearance to allow maintenance and water flow.
Best practice #4: Cable routes that keep water out of your ceiling
Cable routing is a major leak risk because it often introduces new penetrations and pulls water into the roof space.
Cable routing checklist:
- Use UV-rated conduit or trunking where exposed.
- Avoid cable routes that cross ponding zones or gutters.
- Use proper weatherproof glands for any roof entry point.
- Include a drip loop before cable entry so water drips off before reaching the penetration.
- Secure cables properly — wind movement loosens fixings and damages seals.
Best practice #5: Avoiding ponding (standing water) — especially on flat roofs
Ponding water finds weaknesses. Even a small imperfection becomes a leak when it sits under water for hours.
To prevent this:
- Never install frames where they block drainage paths.
- Confirm the roof has adequate falls and clear outlets before installation.
- Ensure mounting methods do not create new low points or dam water behind rails.
- On waterproofed roofs, ensure protection layers and compatible systems are used where foot traffic and equipment will sit.
What to request on the compliance handover (non-negotiables)
When the job is finished, you should receive documentation and proof that the installation is safe and properly sealed.
Request:
- A penetration schedule: number of penetrations, where they are, and how each one was sealed.
- Photos before, during, and after sealing (close-ups of every penetration).
- Material list: brands/specs of glands, flashings, membranes, primers, sealants, and fasteners.
- Warranty clarity: separate warranties for solar equipment, mounting, and roof waterproofing details.
- Electrical compliance: required electrical certificates and installer details (as applicable).
- Maintenance guidance: what to inspect after heavy rain, hail, or high wind, and how often.
If an installer can’t provide basic documentation, it’s a warning sign that corners may have been cut.
Case study: “The leak that only started after the first winter front”
A homeowner in KwaZulu Natal installed solar to reduce load shedding downtime. The panels worked perfectly, that is, until the first major storm.
Symptoms:
A damp patch formed on the ceiling below the PV array. The leak appeared intermittently, then worsened after heavy rains.
What we found:
- Brackets were fixed near a natural water run-off line.
- Several penetrations were sealed with silicone only.
- Cable entry was routed into the roof space without a proper gland and drip loop.
- One rail was slightly out of level, encouraging water to track toward fixings.
Solution:
- We removed and reinstalled the mounting points using the correct waterproofing method for the roof type.
- We corrected the cable entry with a proper weatherproof gland and drip loop.
- We repositioned certain fixings away from concentrated flow areas.
- We water-tested and documented the final details for the owner’s records.
Outcome:
The leak stopped immediately after remediation, and the homeowner received a penetration photo pack and a practical maintenance checklist for future inspections.
Why Elite Roofing and Waterproofing should install the solar mounting frames for you
The mounting frame is where roofing and solar intersect, and where most leak risks begin. When Elite Roofing and Waterproofing installs the frames, we plan bracket locations to avoid high-risk water zones. We also use sealing methods that match the actual roof and waterproofing system, not generic sealant.
In addition, we route penetrations and cable entry with waterproofing detail in mind, and we protect drainage performance to reduce ponding risk.
We also document our work, so you have proof of what was done and how it was done.
After all, if your roof stays dry, your solar investment stays protected giving you peace-of-mind.
What to do next
If you’re planning solar (or you’ve already installed it) and want peace of mind then contact Elite Roofing and Waterproofing to assess your roof and if needed, install the solar mounting frames correctly before leaks start. You can reach us on
- Darren: +27 73 306 4448
- Justin: +27 84 942 6279
or email us Click Here
If you are a subscriber on our website and live in the Durban and surrounding areas you can qualify for a free roof assessment. Subscribe Now